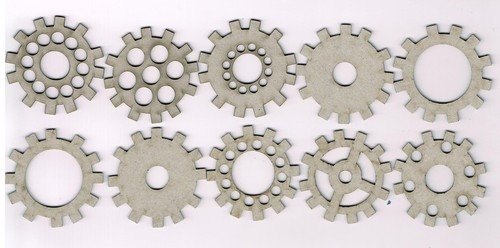
Molossi will be starting to showcase lots of crafters to show you how to use Molossi products in varying ways.
I would like to introduce you to our first Guest Designer for February! You can find her work here.
Her name is Angela Westland - just look at what she has created for us this month!

With this project I have torn the edges of the paper, inked edges with an ink pad and have also rolled the corners of the top piece of paper using a paint brush to reveal the different paper used underneath. I have also applied 3 coats of UTEE to the chipboard cogs which brings them up like glass using a heat gun.
Note: For the glass effect on the chipboard cogs you paint the cogs your desired color using a ink pad and ink the cog with a Versamark Stamp pad. Apply a generous amount of UTEE over the cog and use your heat gun to dry, you will notice the UTEE melting - reapply coats of UTEE until you get the desired effect. With each reapply of the UTEE you will need to keep the surface wet with applying the Versamark Stamp Pad and then more UTEE. I find 3 coats leave a lovely glass finish.


UTEE (Ultra Thick Embossing Enamel): This was used on the cogs which brings them up like glass. I used 3 coats on each cog.
Own Stash: Cog eyelets, die cuts and journalling tags.
Project 2: Easy Layered Boy's Card

This was a layered card using the rocket paper Molossi supplied, inside the card I have made a pocket and a handmade tag for your personal greeting on the left hand side in the card and have continued with the theme of the rocket paper to finalise the birthday greetings.


My Stash: Ribbon, Cardstock, Mesh and Die Cuts.


Love hw you finished the edges of the layout!
ReplyDelete