
Showing posts with label Flourish with a Bling. Show all posts
Wednesday, 23 April 2014
A QUICK CARD

Friday, 18 April 2014
LAYERS
Good Morning how are you on this fine Friday, week one of the holidays is nearly over.... maybe flying by too quick but it has allowed me to get a lot of creating time in and also some time spent scrapping my youngest son., just Project Life things for him.
Today I thought I would share with you one of my travel photos from the time I went to Italy in 1996. I haven't done a lot with the album as I want to do it justice and it don't have all the negatives any more.
The large flowers I have always had trouble sticking on the layout especially more than one, a handy trick is to layer them under and over card stock, so a little bit just peeks out, allowing your layout to not look too cluttered, it also gives you layers and depth. The Manorhouse Creations Heritage Value pack is a great way to get coordinating flowers.
Also to add more depth to your layout when sticking journal cards, distress the edges and curl them up on the ends, and dont use a lot of tape this adds interest in the page.
Flourish with a Bling is the perfect finishing touch, don't forget you can cut them up to use all over your page, so here this is only one flourish just cut up into 3 pieces.
Inking your edges of your layout and flowers with Tim Holtz Distress inks.


Hope this has inspired you to use your larger flowers, till next week hope you have a creative weekend.
Rikki
xxxxxxxx

Wednesday, 16 April 2014
DREAM CARD BY HONOR

Friday, 4 April 2014
JUST TAKING A MINUTE
Good Morning, Rikki here today with a quick share...
Its getting to be the mad end of the school term... touch Rugby .... Assembly items .... Swimming lessons .... Easter Hat parade !!!! Which then means Easter will be upon us sooner than we know with school holidays arrrghhhh!
While I get over my panic attack, why don't you look over my latest creation, something for the boys.
With any range of paper they are always journal cards sometimes its hard to figure out how to work them into a layout, why don't you cut them into banners..... all the banners you see here are journal cards.
I love the Flourish with a Bling Chloe Pearl Flourish, they are really easy to cut up and create the perfect finishing touch on your layout or you can just keep them as is.


Wednesday, 26 March 2014
KAISERCRAFT - BASE COAT

Friday, 28 February 2014
IS IT A HYBRID???
Can you believe it is the end of February already? Rikki here with another Friday layout share, but seriously the end of February!!!
Today I am sharing with you a mixed media layout, more like a hybrid as it includes loads of layered flowers, fussy cut butterflies and gesso.
So to start just build put your background with some texture paste through a stencil... allow to dry, but if your like me and want to continue working on it this is where your Alsion Ellis Designs Heat gun will come into play.
Once its dry you will need to paint Derivan Paints Gesso all over the texture paste and you will want it quick thick, allow to dry. Also if you want your Molossi Chipboard Butterfly frame, white this would be also a great time to do that.
Then its time to spray your mist for your background colour I have used Ranger Dylusions in several colours.
Once it is all dry its just about the construction, the hardest part of me was cutting the photo so it sat in the frame, I just cut a circle the same size of the frame, onto some tracing paper, then used some washi to attach it on the photo and then cut the photo around the template. Don't forget to attach some X-press It Foam Mount under the photo.
![]() |
Then its just a matter of clustering all my flowers on, around and under the frame, I also attached some of the fussy cut butterflies around the frame and the flowers.
|
![]() |
Alsion Ellis Designs Heat gun![]() Derivan Paints Gesso ![]() Molossi Chipboard Butterfly frame ![]() X-press It Foam Mount ![]() Manorhouse Creations Minuettes - Pink mix ![]() FWAB Grace Pearl Flourish |

Saturday, 22 February 2014
LAYERS, FLOWERS AND FUSSY CUTTING...
Rikki here with another layout to share with you all. Last week I mentioned about layers, fussy cutting and flowers.....
So where do you start? For myself its about keeping the background simple, flat with a boarder so things can ''spill'' from the centre section. The glitter cardstock is perfect for that, just remember its thicker and to be a little bit gentle with your board punches....
I broke one handle on one of mine, for this layout, but it can still be used and its was worth it :)
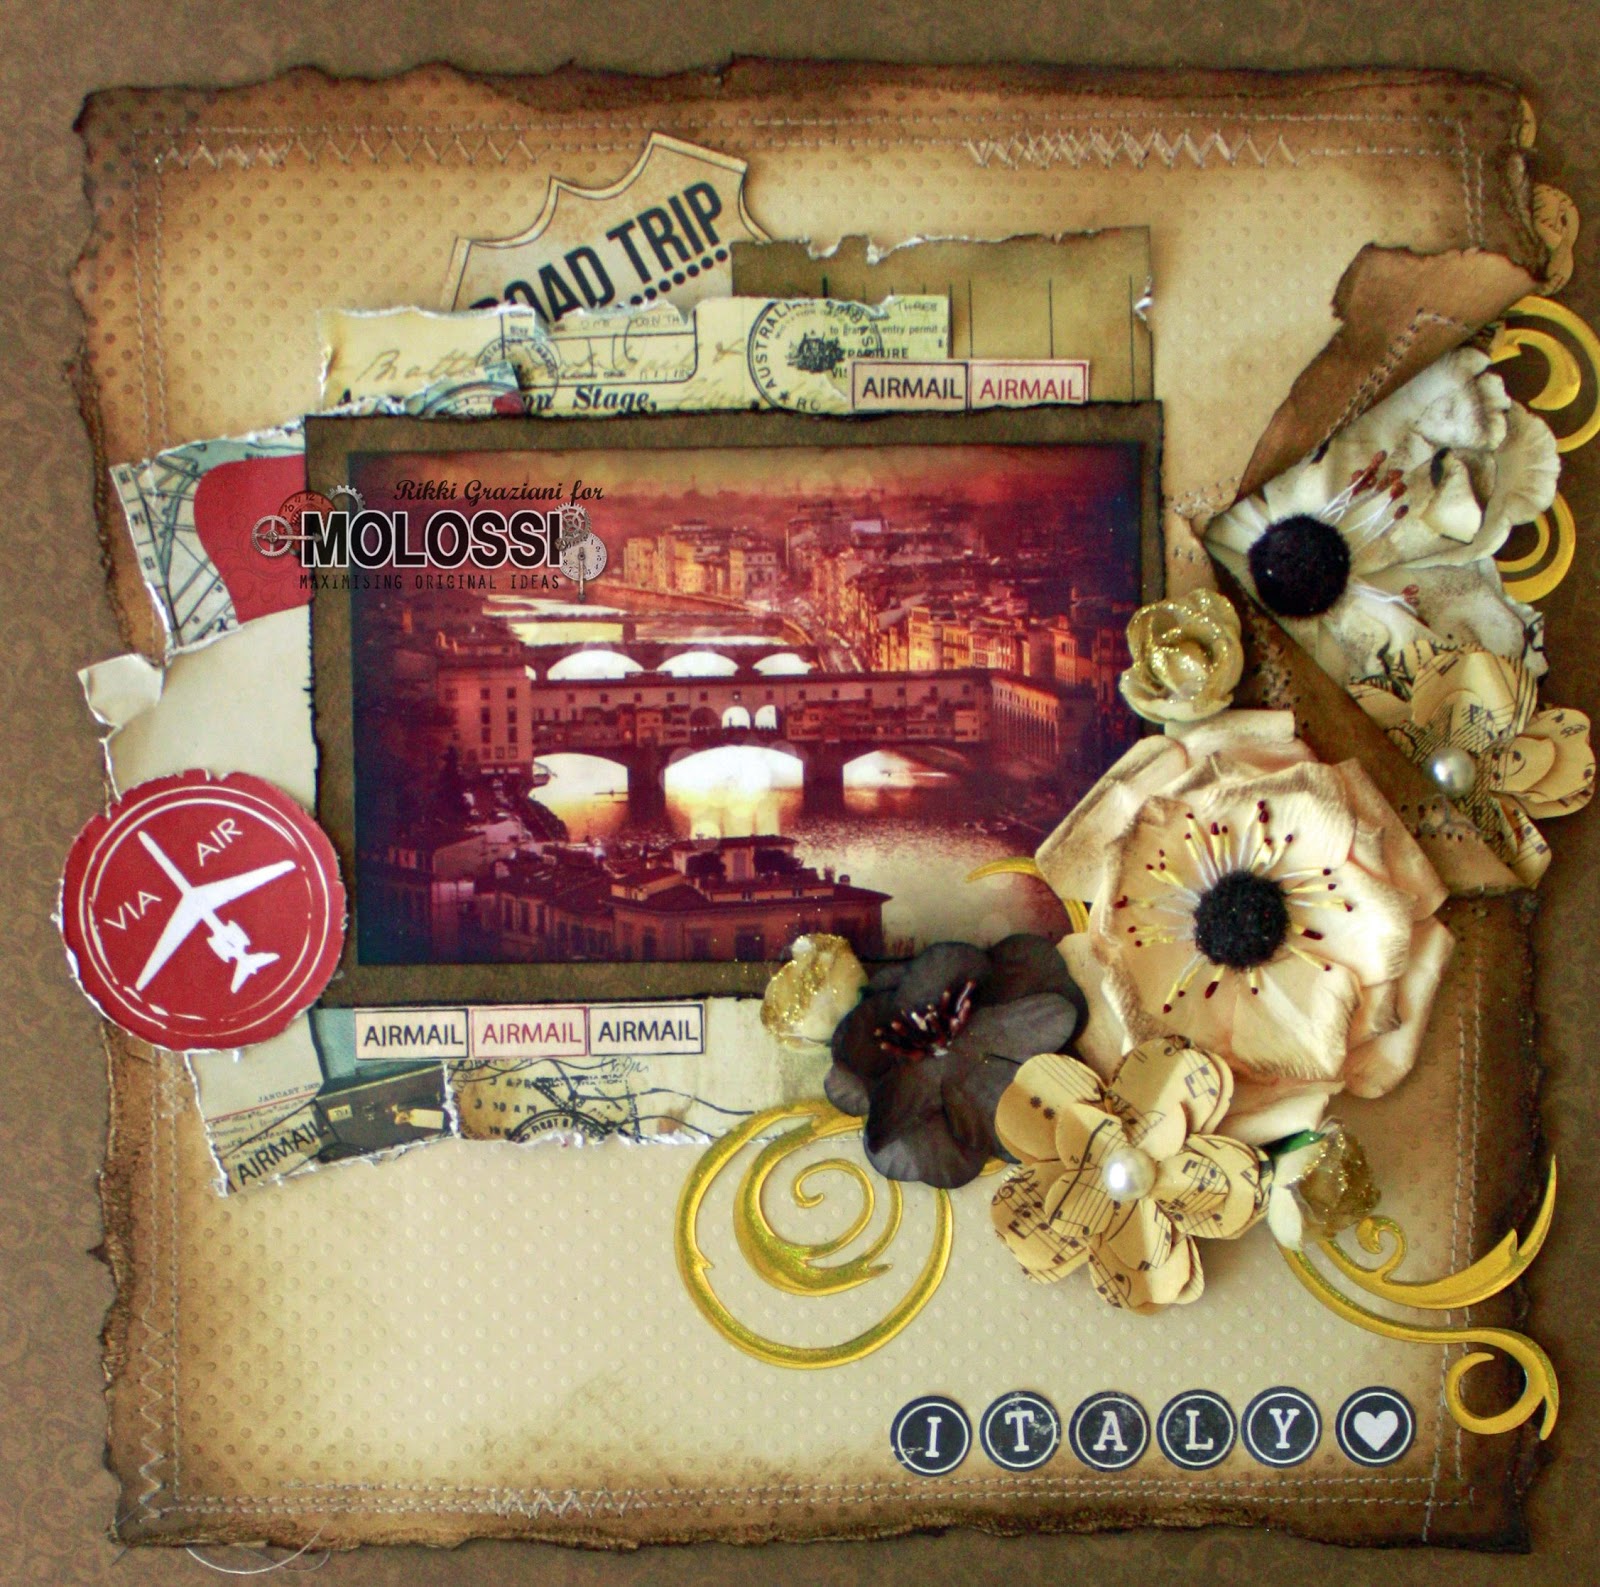
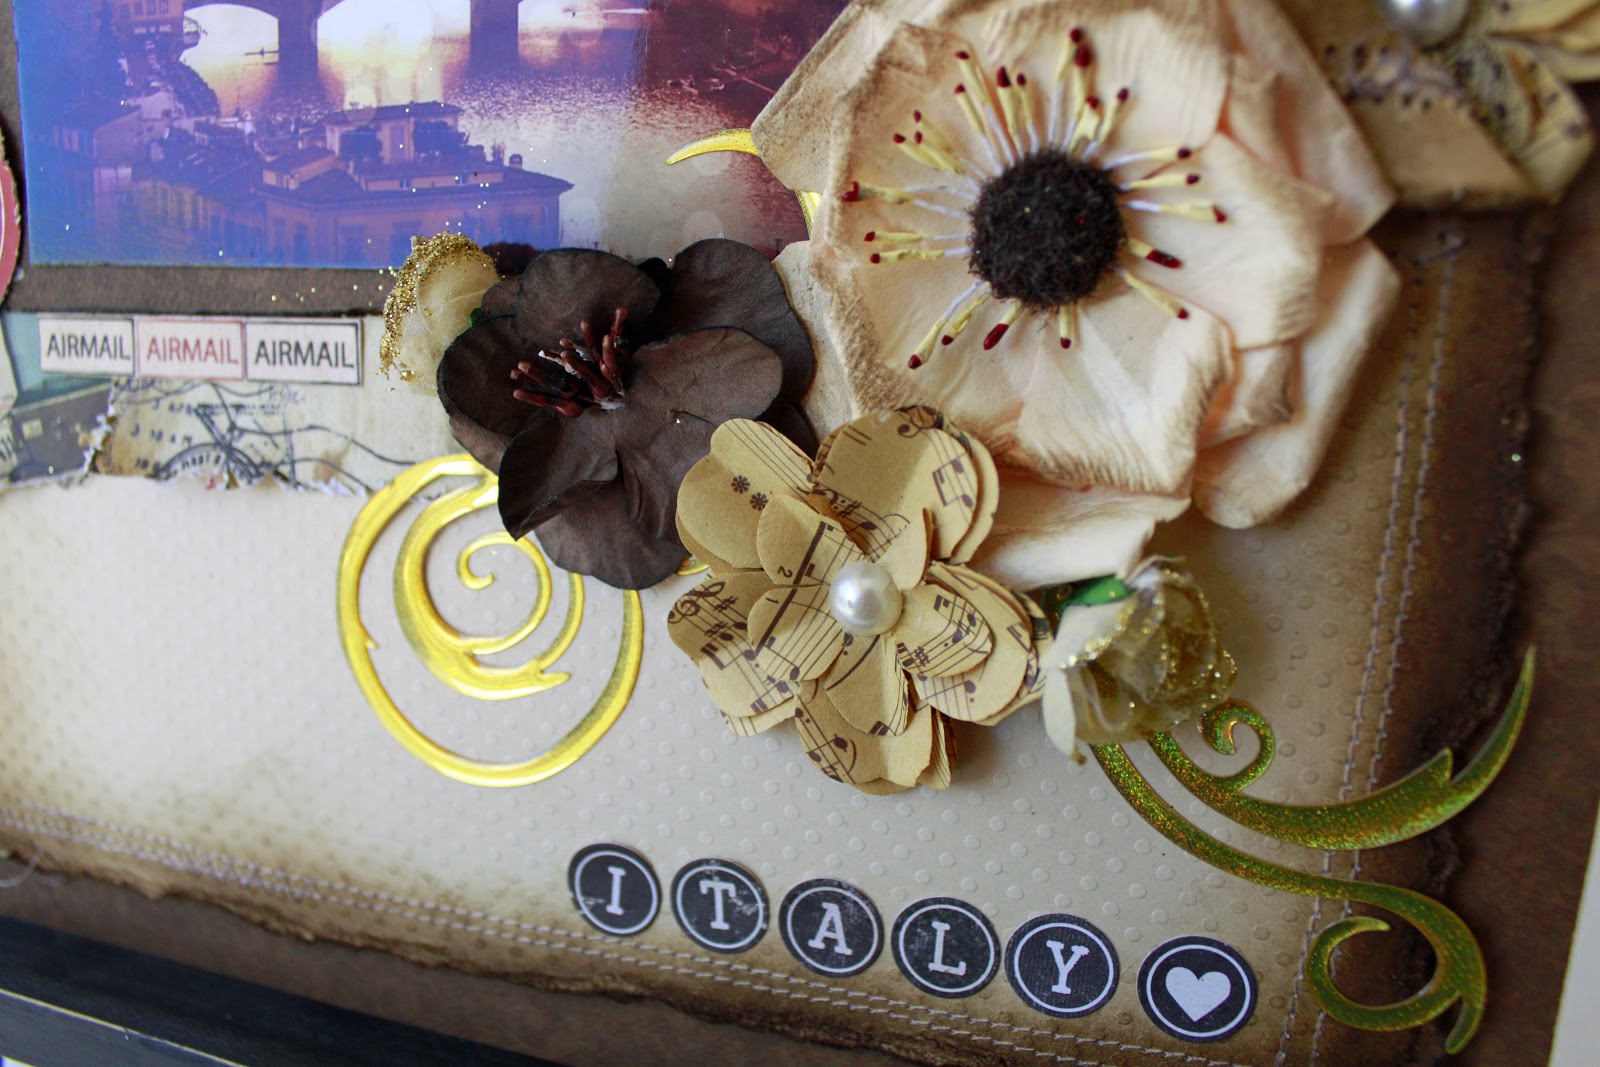
When it comes to your ''clusters'' I work on odd numbers so 7, 5, 3, its an old graphic design trick it looks pleasing to the eye. So there's 3 flowers, 2 butterflies and 2 fussy cut flourishes.
You can also see 3 doilies that the photos are sitting on. The centre cluster has 1 flower, a paper flower and a flourish and I am sure you can figure out the rest.
This is one of the reasons I love to fussy cut sometimes the paper is too busy but it might have a flow to it and it might be the perfect little embellishment to finish off your cluster.
![]() |
Manorhouse Creations Coordinations pink![]() Manorhouse Creations Flexible Words - Love ![]() Manorhouse Creations Lace Butterfly and Hearts ![]() FWAB Grace Pearl Flourish |
Hope you are feeling inspired, why don't you pop over to the Molossi store and grab some of those stunning Manorhouse Creations flowers and embellishments.
Next week I will have another mixed media layout for you. Have a great, creative weekend xxxx

Subscribe to:
Posts (Atom)


