
“TWO HEARTS THAT BEAT AS ONE”
It was with excitement that I ripped open the seal on my
padded bag from Molossi to reveal my first chipboard Design Team kit - with my
10 year old daughter hanging over my shoulder adding appropriates oooohs and aaaaahs
J
Amongst the goodies, I
was thrilled to find two lovely pieces that to me just screamed Wedding! Recently I celebrated my 12th
wedding anniversary and I’ve been scrapbooking now for over 10 years, however,
scrapbooking my wedding has always been daunting for me. Who else has said “I’ll scrap those special
photos when I’m a better scrapbooker”????
My wedding photos always fell into this category.
The title piece I have used “Two Hearts that beat as one”
with the gorgeous script font and those two sweet love hearts was just what I
needed to take the plunge. Add a
flourish with a love heart and the set was complete. So here is how I went about it.......
Firstly, I masked off the two hearts and painted just the
script with Coffee shop Glimmermist – this is my favourite glimmermist colour –
it has a lovely gold fleck through it which almost floats in the colour when
you apply dimensional magic over the top.

Next I coloured the hearts with a Chromatix red marker
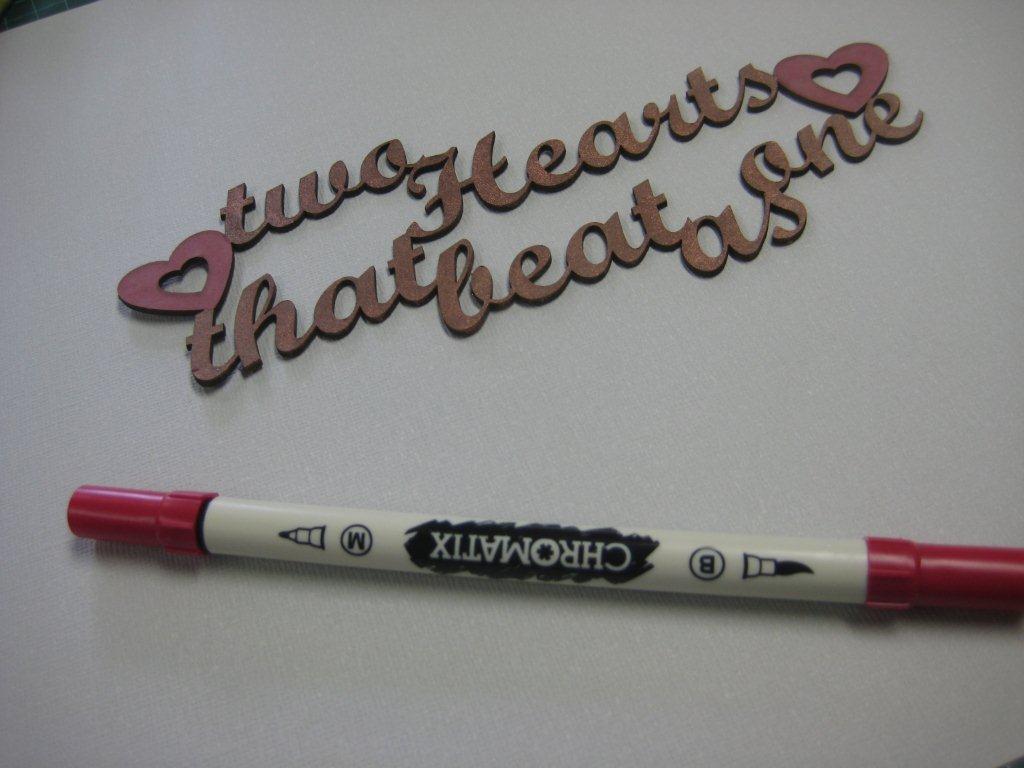
To finish this chipboard piece I added the layer of
Dimensional Magic over the top – I’m not sure if this image shows it clearly
but as I mentioned it makes the gold fleck float amongst the coffee colour in the
glimmermist and gives a lovely shiny finish to your piece. If you use a Tim Holtz non stick craft sheet
underneath your chipboard when applying colour or gloss it will always lift off
without leaving half your chipboard behind on the backing surface.

Now onto that beautiful flourish – I started by colouring
the flourish itself with a green Gellyroll pen from Sakura. These pens again have a hint of glitter in
them – can you tell I’m a bling girl! I
coloured the heart again with the Chromatix marker – these are the American
Crafts answer to Copics. Again I coated
the entire piece in Dimensional Magic.

Now with these pieces all set aside for the Dimensional
Magic to dry I could get started on the background piece for my layout.
My supplies were as follows:
1 x 12” white cardstock - Draw a frame 1” inside the outer
edge of the white card and cut the centre out – save this piece for another
project
Papers are all from Kaisercraft Pickled Pear range.
Trim your background patterned paper to 11 ¾ x 11 ¾ “ - Ink
your edges and adhere in the centre of
your white cardstock frame.
Trim your 2nd piece of patterned paper 11” x 6”
and punch a border to the top and bottom using a border punch. Again ink your edges. I have also adhered a border sticker to the
bottom of my piece – a bit of washi tape or a piece of ribbon would also look
fabulous. Across the centre of this
piece I have attached a piece of May Arts ribbon mesh.
Now select another piece of patterned paper and cut to 4.5”
x 6” Distress the edges of this one or
ink if you prefer. Approx 1.5” from the
top tie some Bakers’ twine and knot off in the centre.
Adhere these two pieces as below – You don’t see the bottom
of the dark piece so I’ve actually given you a smaller measurement so as not to
waste the paper. This is the 4.5 x 6”
measurement.

Now start layering.
Add your photographs using foam mounting tape and then layer your
chipboard on top of them. I have adhered
my chipboard using the Dimensional Magic I used to glaze it with – a great glue
as well as gloss.
Add a doily to the bottom layer of your flower cluster on
the bottom left and then start layering your flowers. I’ve tucked a butterfly die cut made with vellum
on top of the floral cluster using a glue dot.
Flowers are Petaloo, Kaisercraft and Meant to be felt die cuts. I have also used a Martha Stewart branch
punch to add some more green into the cluster.
A couple of gold brads in the centre of the Kaisercraft flowers and the
job was done.

Add in some journaling details – mine was the name of the
resort and the date and also the dymo look stickers which were also in the
Kaisercraft Pickled Pear sticker sheet I used – I distressed the edges of these
before adding them above the bottom photograph.

Thanks for stopping by and checking out my first layout for
Molossi. I’m heading back to the scrap
room now to play with the other goodies that were in my pack J


This is gorgeous JO!!
ReplyDeleteThanks Lizzy :)
Delete